Smart Flooring

The Ultimate Guide to Laminate Flooring Installation: Step-by-Step Process and Benefits

Why Choose Laminate Flooring?

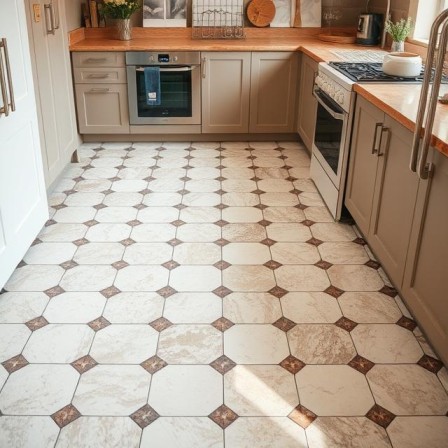
Before diving into the installation process, let’s explore why laminate flooring is a popular choice for many homeowners:

  • Cost-Effective: Laminate flooring is more affordable than hardwood or tile, giving you the look of high-end materials without the hefty price tag.
  • Durability: Laminate is resistant to scratches, dents, and stains, making it an excellent choice for high-traffic areas.
  • Ease of Maintenance: Laminate flooring is easy to clean, unlike carpets and requires minimal upkeep.
  • Versatility: Available in various colors, styles, and textures, laminate flooring can mimic the appearance of wood, stone, or ceramic.

If you want to learn more about the benefits of laminate flooring for your home, visit our Laminate Flooring Installation page.

Preparing for Laminate Flooring Installation

Measure Your Space
Before beginning the laminate flooring installation, measuring the room accurately is essential. You must calculate the square footage to order enough material to cover the area. Most laminate flooring is sold in planks, so remember to factor in any cuts or extra material required for the layout.
Acclimate the Flooring

Laminate planks must acclimate to the room’s temperature and humidity levels before installation. Lay the planks flat in the room for at least 48 hours to allow them to adjust. This step helps prevent any warping or expansion once installed.

Prepare the Subfloor

Ensure that your subfloor is clean, dry, and level before starting. If there are any gaps or imperfections, it’s essential to fill them in. We recommend installing laminate flooring on a smooth surface, such as plywood or concrete, for the best results. If your subfloor has imperfections, it may affect the final look of your laminate floor.

Lay the Underlayment

Underlayment provides extra cushioning and sound insulation for laminate flooring. Roll out the underlayment and trim it to fit the room. Be sure to leave a small gap around the edges to prevent moisture buildup.
waterproof laminate flooring

Laminate Flooring Installation Process

Step 1: Start Installing the First Row

Begin in one corner of the room, laying the first row of laminate planks along the wall. Make sure the planks are straight and aligned. It’s essential to leave a small expansion gap between the wall and the first row of planks to allow for natural expansion as temperature and humidity fluctuate.

Step 2: Click and Lock the Planks
Most modern laminate flooring features a click-lock installation method, allowing the planks to snap together without needing glue or nails. Simply align the edges of each plank and click them into place. Use a tapping block to ensure the planks are securely locked together.
Step 3: Continue With Subsequent Rows
Continue installing the remaining rows using the same method to connect the planks. Stagger the seams between rows for a more natural appearance and improved stability. Make sure to leave the expansion gap around the room’s perimeter, as this will allow the floor to expand and contract with changes in temperature and humidity.
Step 4: Trim the Last Row
Once you’ve installed all but the final row, measure and cut the last row of planks to fit. Use a saw to trim the planks, ensuring they fit snugly along the wall. Once cut, install the final row of planks and click them into place.
Step 5: Install the Baseboards and Transitions
After fully installing the floor, install baseboards along the perimeter to cover the expansion gap. You can also add transition strips where the laminate flooring meets other types of flooring, such as tile or carpet.
Why Hire Smart Flooring for Laminate Flooring Installation?

Hiring a professional installer ensures the best results and saves you time. At Smart Flooring, we specialize in expert laminate flooring installation and handle every step of the process for you. Whether you’re upgrading a single room or your entire home, our experienced team guarantees a seamless installation with attention to detail.

For more information about our laminate flooring installation services, visit our Laminate Flooring page.

Benefits of Professional Laminate Flooring Installation
  • Expertise and Precision: Our professional installers ensure that your laminate floor is perfectly installed, with precise cuts and seamless transitions.
  • Time-Saving: Installing laminate flooring can take a considerable amount of time. Hiring Smart Flooring allows you to relax while we care for the hard work.
  • Guaranteed Results: We offer quality assurance with every installation, so you can rest easy knowing your floor will look great for years.

Conclusion

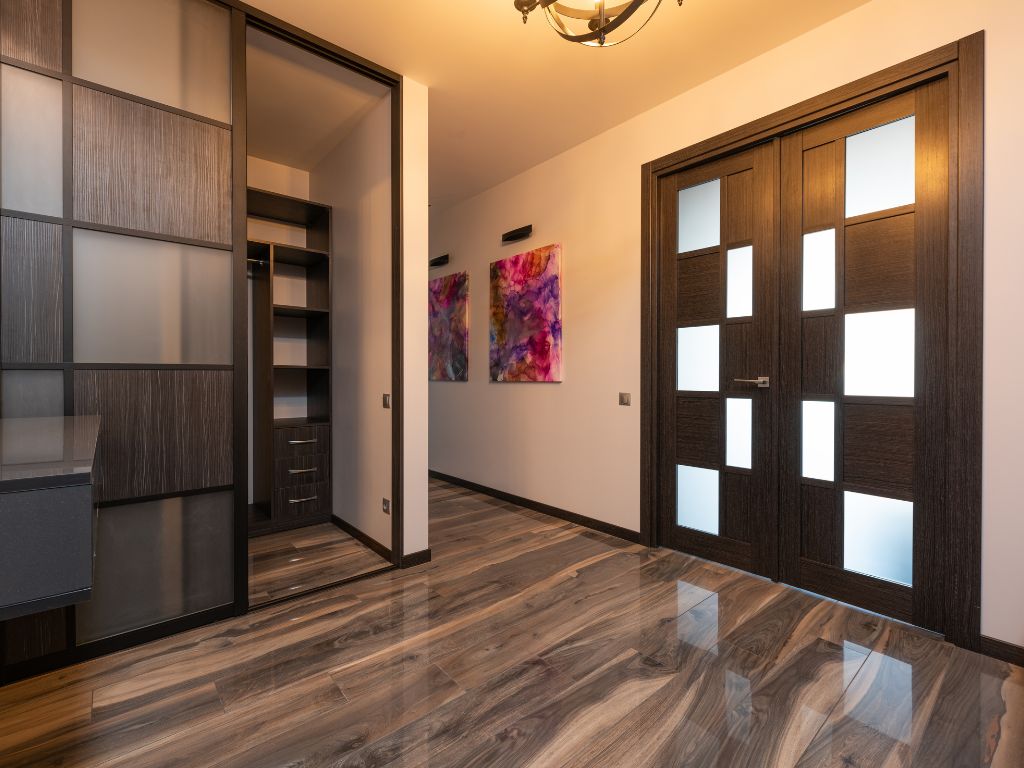
Laminate flooring offers an affordable and durable option for homeowners looking to transform their space. The key to a successful laminate flooring installation is careful planning, preparation, and attention to detail. If you’re ready to install laminate flooring in your home, contact Smart Flooring for expert installation services you can rely on.

Explore our full range of services and contact us today at Smart Flooring.